
REVIEW · ASTROPHOTOGRAPHY TOURS
Moab: The Windows Astro-Photography and Stargazing Hike
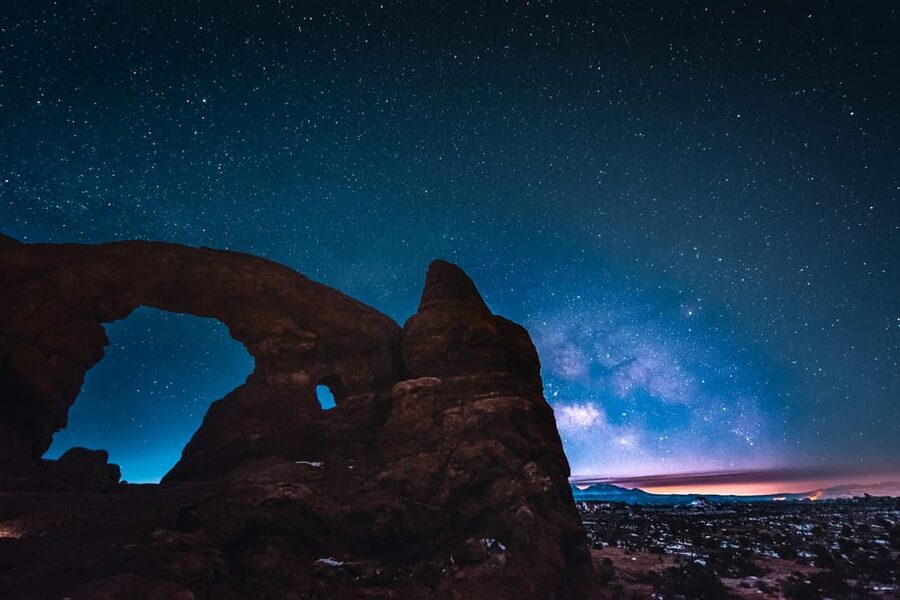
Arches National Park changes character after sunset. The red rock fades into shadow, the stars take over, and the Windows and Double Arch become strange black shapes against the sky. This two-hour hike gives you a guided way to see that change while learning how to photograph it.
I like the small group of six or fewer, which gives your guide time to help with individual camera settings. I also like that you do not need a professional camera to take part. Guides Sam and Brandon have helped people make strong night images with iPhones, while tripods and red headlamps are supplied.
The main thing to consider is the price. At $175 per person, before the Arches entry fee and any camera rental, this is not a casual add-on for every visitor. The hike also covers about two miles in the dark, so it suits people who are comfortable on uneven ground and can walk without mobility assistance.
Key points to know before you book
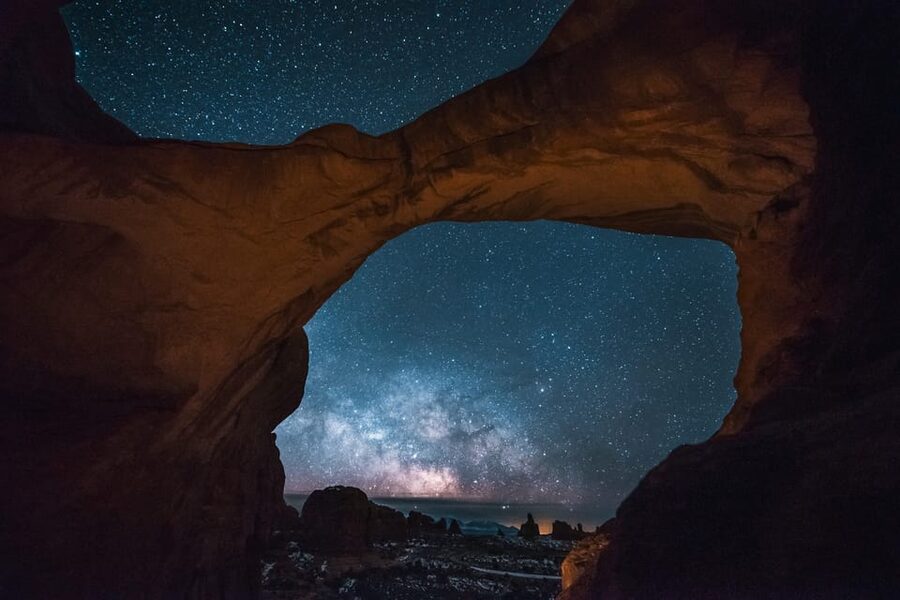
- Double Arch is the night’s main photo stop, with the Milky Way often framing the rock.
- Sam and Brandon focus on teaching, including phone photography, camera settings, and safe movement after dark.
- Red LED headlamps and tripods are included, so you need not bring all the basic gear yourself.
- The Windows trailhead is the meeting point, and you must arrange your own way there and pay the park entry fee.
- Moonlight changes the experience, from darker skies for star photography to brighter scenes with more visible rock detail.
- This is a walking photography lesson, not a drive-up stargazing session or a telescope-only outing.
Why an Arches night hike feels different
The daytime crowds, bright sandstone, and strong desert sun define Arches National Park for most people. After dark, the park asks you to slow down. Your eyes need time to adjust, and the rock formations appear in pieces as your headlamp or moonlight catches them.
That change is the real reason to book this experience. You are not simply looking at stars from a parking lot. You are walking through the Windows area, learning how the arches were shaped by natural forces, and using the formations as foreground subjects for night photography.
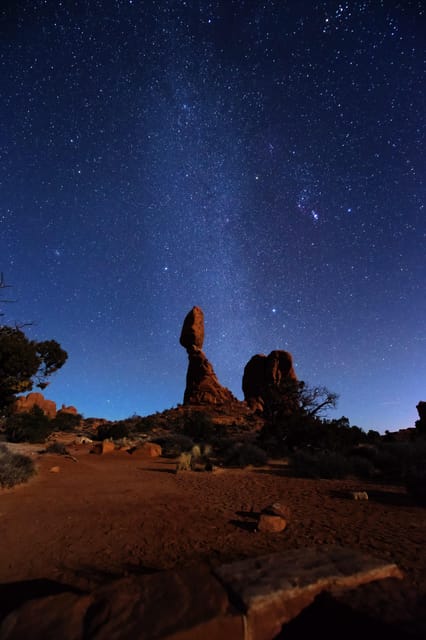
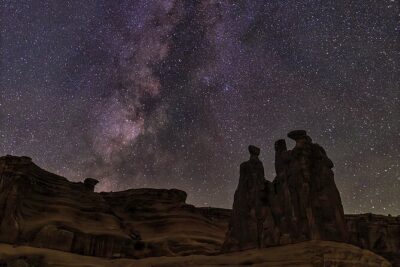
The setting is also far from city light. On a clear night, you may see the Milky Way without a camera. A camera can record even more stars and pick up faint light that your eyes do not see, so your finished photograph may look brighter and more detailed than the scene felt in person.
This point matters if you expect the sky to look exactly like a long-exposure photograph. It will not. The camera gathers light over time, while your eyes work instantly. Your guide should help you understand that difference and set realistic expectations.
More Astrophotography Tours in the USA:
- Milky Way Photography in Arches National Park
★ 4.0 · 4 reviews - Private astronomy tour with sunset toast, picnic, and astrophotography
★ 4.8 · 83 reviews - AuthenticAs Star Gazing -Nightscape Portrait Photography Tour
★ 5.0 · 59 reviews
Meeting at The Windows after dark
You meet your guide at the Windows parking area, in the first parking lot on the right. There is no transportation included, so you need your own vehicle and must pay the separate Arches National Park entry fee, listed as $30 per standard vehicle.
The start time changes with availability and the season. Check the departure time carefully, since the tour begins after dark and you do not want to arrive at the park entrance or trailhead without enough time to find the meeting area.
The guide provides a red LED headlamp. Red light is useful at night because it helps you see the trail while being less disruptive to people whose eyes are adjusting to darkness. You should still bring water, hiking shoes, a camera, and a charged smartphone.
A phone is worth bringing even if you plan to use a DSLR. The guides have helped people use phone night modes and manual controls, and your smartphone can also serve as a backup if a camera setting goes wrong.
Starting with camera basics, not guesswork
The first part of the walk is about getting your equipment ready. You can use your own camera, ask for a tripod, and request a rental DSLR camera or lens before the tour. The available lens mounts include Canon EF and EFS and Nikon F.
The rental option can make sense if you want a serious photograph but do not own suitable equipment. It also adds to the cost, so ask yourself how much you value the image-making side of the outing. If you mainly want to see Arches at night, a rental may be hard to justify. If you want to learn night photography and bring home a large, sharp image, it may be worthwhile.
Your guide works through the basics of operating the camera in low light. That can include setting up the tripod, finding a focus point, adjusting exposure, and learning how small changes affect the final image. The useful part is not simply receiving a finished photograph. You learn a method you can try again during the rest of your trip.
The teaching also appears to work for people with different levels of experience. Sam has helped beginners use phones, while Brandon has spent extra time with groups on camera settings and night shots. You should not feel that you need to arrive as a photographer.
The Windows and Turret Arch in the dark
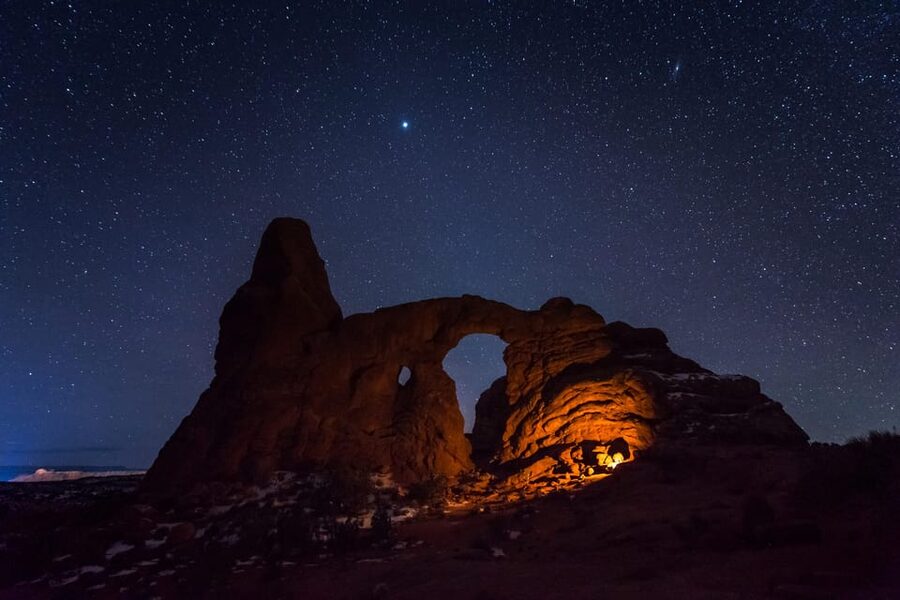
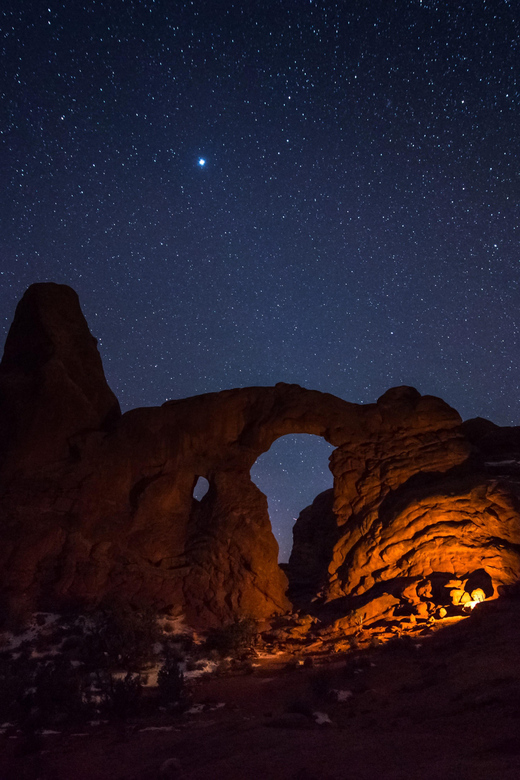
The route begins in the Windows area, a compact collection of major Arches formations. You see the North Window and South Window, then Turret Arch, while your guide points out hazards and helps the group move safely.
The hike covers roughly two miles. That is not a huge distance, but darkness changes the effort. You need to watch your footing, stay aware of drop-offs, and move at the group’s pace. One of the tour’s practical strengths is the guide’s attention to where the trail edge and drop-offs are, especially when you are looking down at a camera screen.
The red rocks also behave differently under moonlight than under a strong headlamp. A full moon can reveal the shape of the formations and make the walk feel less stark. A darker moon phase gives the stars more visual power and may suit someone focused on Milky Way images.
There is no single best lunar cycle for everyone. I would choose a darker night if your main goal is a star-filled sky. I would choose a brighter moon if you want more visible rock detail, an easier-feeling walk, or a different kind of night photograph. The activity provider can help you decide if you want especially dark skies.
More Night Hikes in the USA:
- Griffith Observatory Hike: Guided Tour through Griffith Park
★ 5.0 · 1,020 reviews - Los Angeles: Griffith Observatory Guided Hike/Walking Tour
★ 4.9 · 199 reviews - Hollywood Sign Hiking Tour to Griffith Observatory
★ 4.9 · 106 reviews - Hollywood Sign Hiking Tour to Griffith Observatory
★ 5.0 · 99 reviews
Practicing before the main photo stop
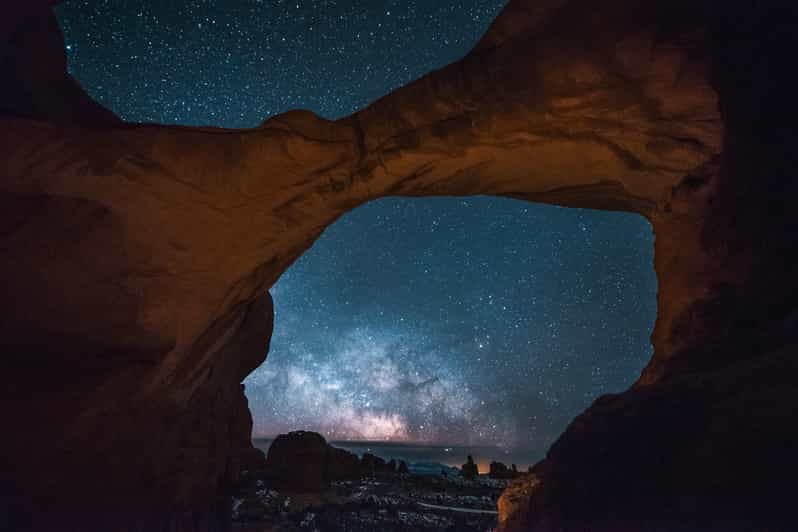
The Windows and Turret Arch section gives you time to practice before reaching Double Arch. That progression is helpful because night photography often involves trial and error. You can adjust your setup, test a composition, and learn what your camera is doing before the most anticipated stop.
Your guide can also help you frame the rock instead of pointing only at the sky. A good night image usually needs both: the stars provide scale and atmosphere, while the arch gives the picture a clear subject.
You may also have time to identify stars and constellations. Guides have discussed the night sky as well as the park’s geology, so this is not just a technical photography class. You get a better sense of the forces that shaped the arches and the sky above them.
Do not expect every exposure to work perfectly. Night shooting takes patience, and the camera may reveal light that you cannot see with your eyes. That can be exciting, but it also means your first image may need several adjustments. The small group helps here because the guide has a better chance to check your settings without rushing from person to person.
Double Arch and the best chance for a memorable image
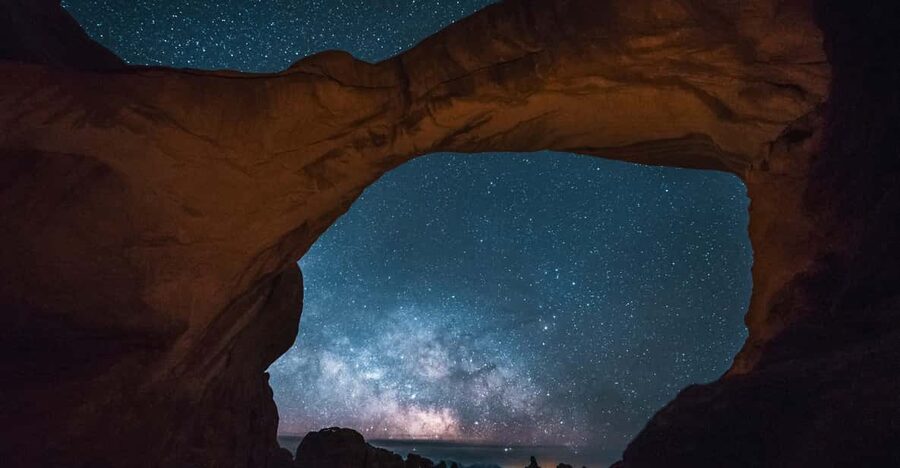
Double Arch is the highlight of the route. Its broad opening gives you a strong foreground subject, while the open sky creates room for stars above and through the rock.
This is where the tripod matters most. A tripod keeps the camera steady during a longer exposure, allowing you to capture more light without the blur caused by holding the camera. If you use a phone, you may have a night mode or long-exposure setting that can produce a surprisingly good result when the phone is held still.
The guide can help you work on composition, not just camera controls. Try different positions, include the curve of the arch, and check whether the stars are visible where you want them. Your guide may also help you make small changes to focus or exposure so the rock does not disappear into a black mass.
The result depends on the night. Clouds, moonlight, and natural sky conditions all affect what you can see. A clear night can reveal the Milky Way, while a full moon can create a soft glow over the formations. One outing even included visible northern lights, but that is an unusual bonus, not something you should book expecting.
What the guides add to the experience
The strongest part of this activity is the personal instruction. Sam has been praised for being patient, friendly, and able to explain night photography to people using different devices. Brandon has also helped groups get good photographs with iPhones, explained camera features, and kept an eye on safety near drop-offs.
That combination matters. A guide who only knows photography may not be able to make the walk feel comfortable. A guide who only knows the park may not solve a camera problem. Here, the experience is designed around both the trail and the image.
You should still tell the guide what you want from the night. If your main interest is the Milky Way, say so. If you are new to photography, say that too. If you want to learn phone photography rather than DSLR controls, make that clear early.
The small group limit of six gives you a fair chance to ask questions. It does not guarantee one-on-one instruction for the whole tour, but it is much more favorable than a large group gathered around one guide.
Is $175 per person a fair price?
The base price is $175 per person for two hours. You also pay for entry to Arches National Park, and camera or lens rentals cost extra. You need to provide your own transportation to the Windows parking area.
That makes this a premium short activity. You are paying for more than access to a viewpoint. The fee includes a guide, a walking tour, red LED headlamps, and a tripod if needed. The main value is the instruction and the chance to move through the Windows area after dark with someone who knows how to handle the photography and the trail.
I think the price is easier to defend if you want to learn a practical skill. You can use the lessons later in the trip, at home, or with a smartphone. It is also a better fit if you would otherwise struggle to plan a safe, useful night photography session on your own.
The cost is harder to defend if you only want to look at stars. You could have a memorable night in the park without paying for a photography lesson, provided you follow park rules and have access to a suitable location. This activity earns its price through teaching, equipment, and the small group format.
A 4.8 rating from 36 reviews supports the idea that the experience is working well for its intended audience, especially those who value the guide’s patience and camera help. Still, star quality and weather can change the result, so the price does not buy a guaranteed Milky Way view.
Who should book this night tour?
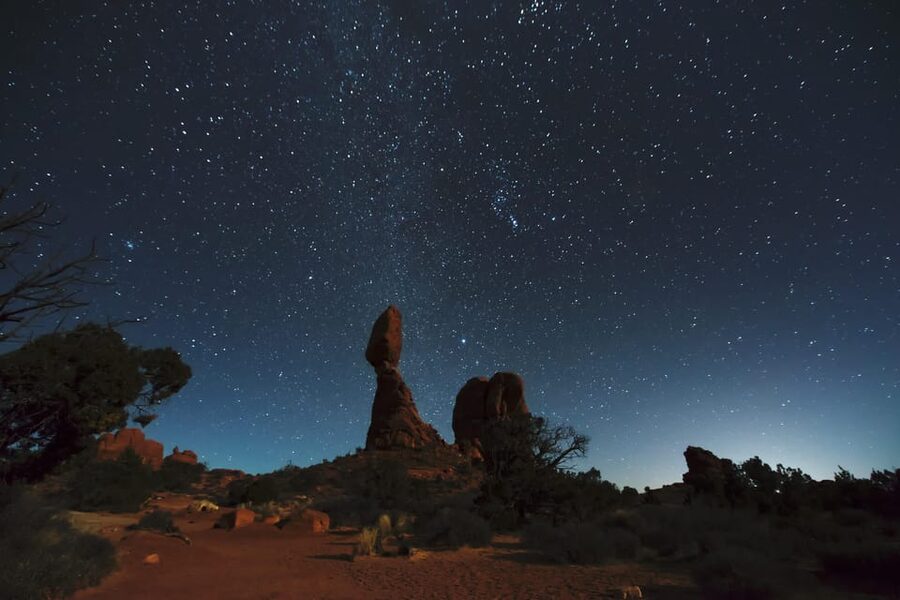
I would recommend it to a first-time night photographer, a couple or small group that wants unusual Arches photographs, and anyone who enjoys a guided walk more than a simple scenic stop.
It also suits phone photographers. The guides have helped people get strong images with iPhones, so you do not need a DSLR to take part. Bring your charged phone and be ready to learn the settings your device offers.
Experienced photographers may find the basic instruction familiar. Even so, the setting, route, and help with compositions can still make the outing worthwhile. If you already know how to shoot in low light, ask the guide about the best way to use the arches and the moon in your images.
I would not choose it for children under six, wheelchair users, or people with mobility impairments. The two-mile walk takes place at night and includes uneven terrain and areas where you must pay attention to drop-offs. Pets are not allowed.
The tour is conducted in English and is limited to six participants. Free cancellation is available up to 24 hours before the start, and you can reserve now and pay later, which helps if your Arches plans depend on weather or other activities.
My call: book it for the lesson, not just the stars
Book this experience if you want to leave Arches with better night photography skills and a set of images made with your own camera or phone. The route through the Windows, Turret Arch, and Double Arch gives the lesson a memorable setting, while the small group lets Sam, Brandon, or another guide spend time solving your particular camera problems.
Skip it if you only want a quick look at the night sky or if the full cost feels too high after park entry and equipment rental. Also keep your expectations flexible. The Milky Way, full moon, and even northern lights each create different conditions, and the camera may show light you cannot see unaided.
For someone who wants both a guided night walk and useful photography instruction, this is a strong way to experience Arches from a new angle.
FAQ
Where does the tour meet?
Meet your guide at The Windows parking area in the first parking lot on the right.
How long is the tour?
The activity lasts two hours and involves roughly two miles of hiking from the Windows trailhead.
Is transportation to Arches National Park included?
No. You must arrange your own transportation to the meeting point. The Arches entry pass is also separate and costs $30 per standard vehicle.
Do I need to bring a DSLR camera?
No. You can bring your own camera or smartphone. DSLR cameras and lenses are available to rent for an additional fee, with Canon EF and EFS and Nikon F lens mounts listed.
Are a headlamp and tripod provided?
Yes. Red LED headlamps are included, and tripods are available if needed.
Can I cancel the booking?
Yes. You can cancel up to 24 hours in advance for a full refund. Reserve now and pay later is also available.
Fresh listings near the USA
- Boulder: Guided Astronomy Tour★ 4.7 · 11 reviews
- 1-Day Grand Canyon Tour from Las Vegas: Stargazing & Sunrise★ 3.6 · 3 reviews
- Private Stargazing – Sequoia National Park★ 4.5 · 14 reviews
- Private Tour of Griffith Observatory★ 4.5 · 58 reviews
- Milky Way Photography in Arches National Park★ 4.0 · 4 reviews
- Professional Stargazing in Moab★ 3.5 · 3 reviews
- Haleakala Sunset and Astronomy Tour★ 5.0 · 33 reviews
- Haleakala Sunset and Stargazing Audio Tour★ 4.0 · 10 reviews
Astrophotography Tours, side by side.
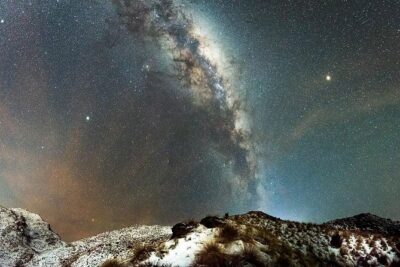
AuthenticAs Star Gazing -Nightscape Portrait Photography Tour
Read our review →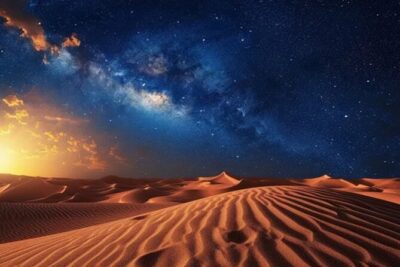
Doha Night Desert Safari, Stargazing, Photography، Relaxation
Read our review →
Lists this night appears in